
1. Sign into Self Service using your Blake gmail credentials. Search for and install the "Adobe Creative Cloud Desktop" application.
Creative Cloud is a large application that can take several minutes for the installation to complete. Be patient. Wait until the "Install Complete" button appears before moving onto the next step.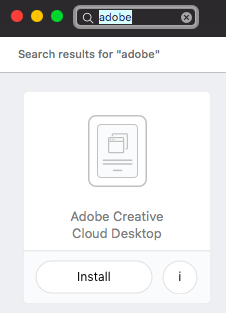

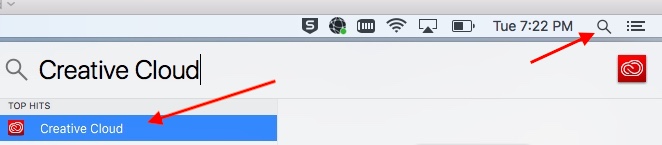
2. Search for Creative Cloud in Spotlight and open it.
Note: You may want to add this application to your Dock.
3. In the Sign in window, select Continue with Google.

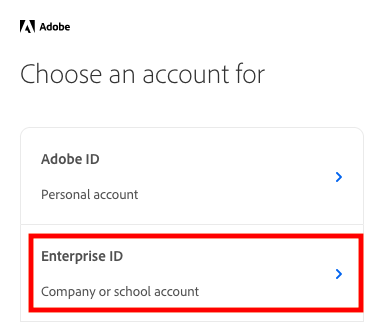
4. You will be redirected to sign in with your Google Account. If you are given the option to choose an account, select Enterprise ID - Company of school account. Enter your Blake gmail credentials. If you are already signed into Blake gmail, Creative Cloud will sign you in automatically.
- Enter your full address (MyUserID@blakeschool.org), click Next,
- Enter your Password, and then
- Click on Sign In. Select Enterprise ID - Company or School Account.
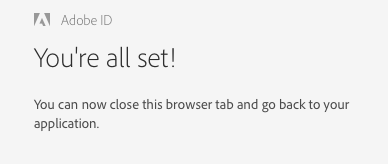
- If successful, you will see a "You're All Set!" notification in your web browser.
5. The Adobe Creative Cloud application will open.
- Click the All Apps menu.
- Click the Install button to install any of the available Adobe applications.
- Most Adobe applications are large so installations can take several minutes. Available applications include Photoshop, Illustrator, Acrobat, InDesign, Lightroom, Premiere, XD, Dreamweaver and many more. Scroll down in the Creative Cloud window to see all available apps.

0 Comments