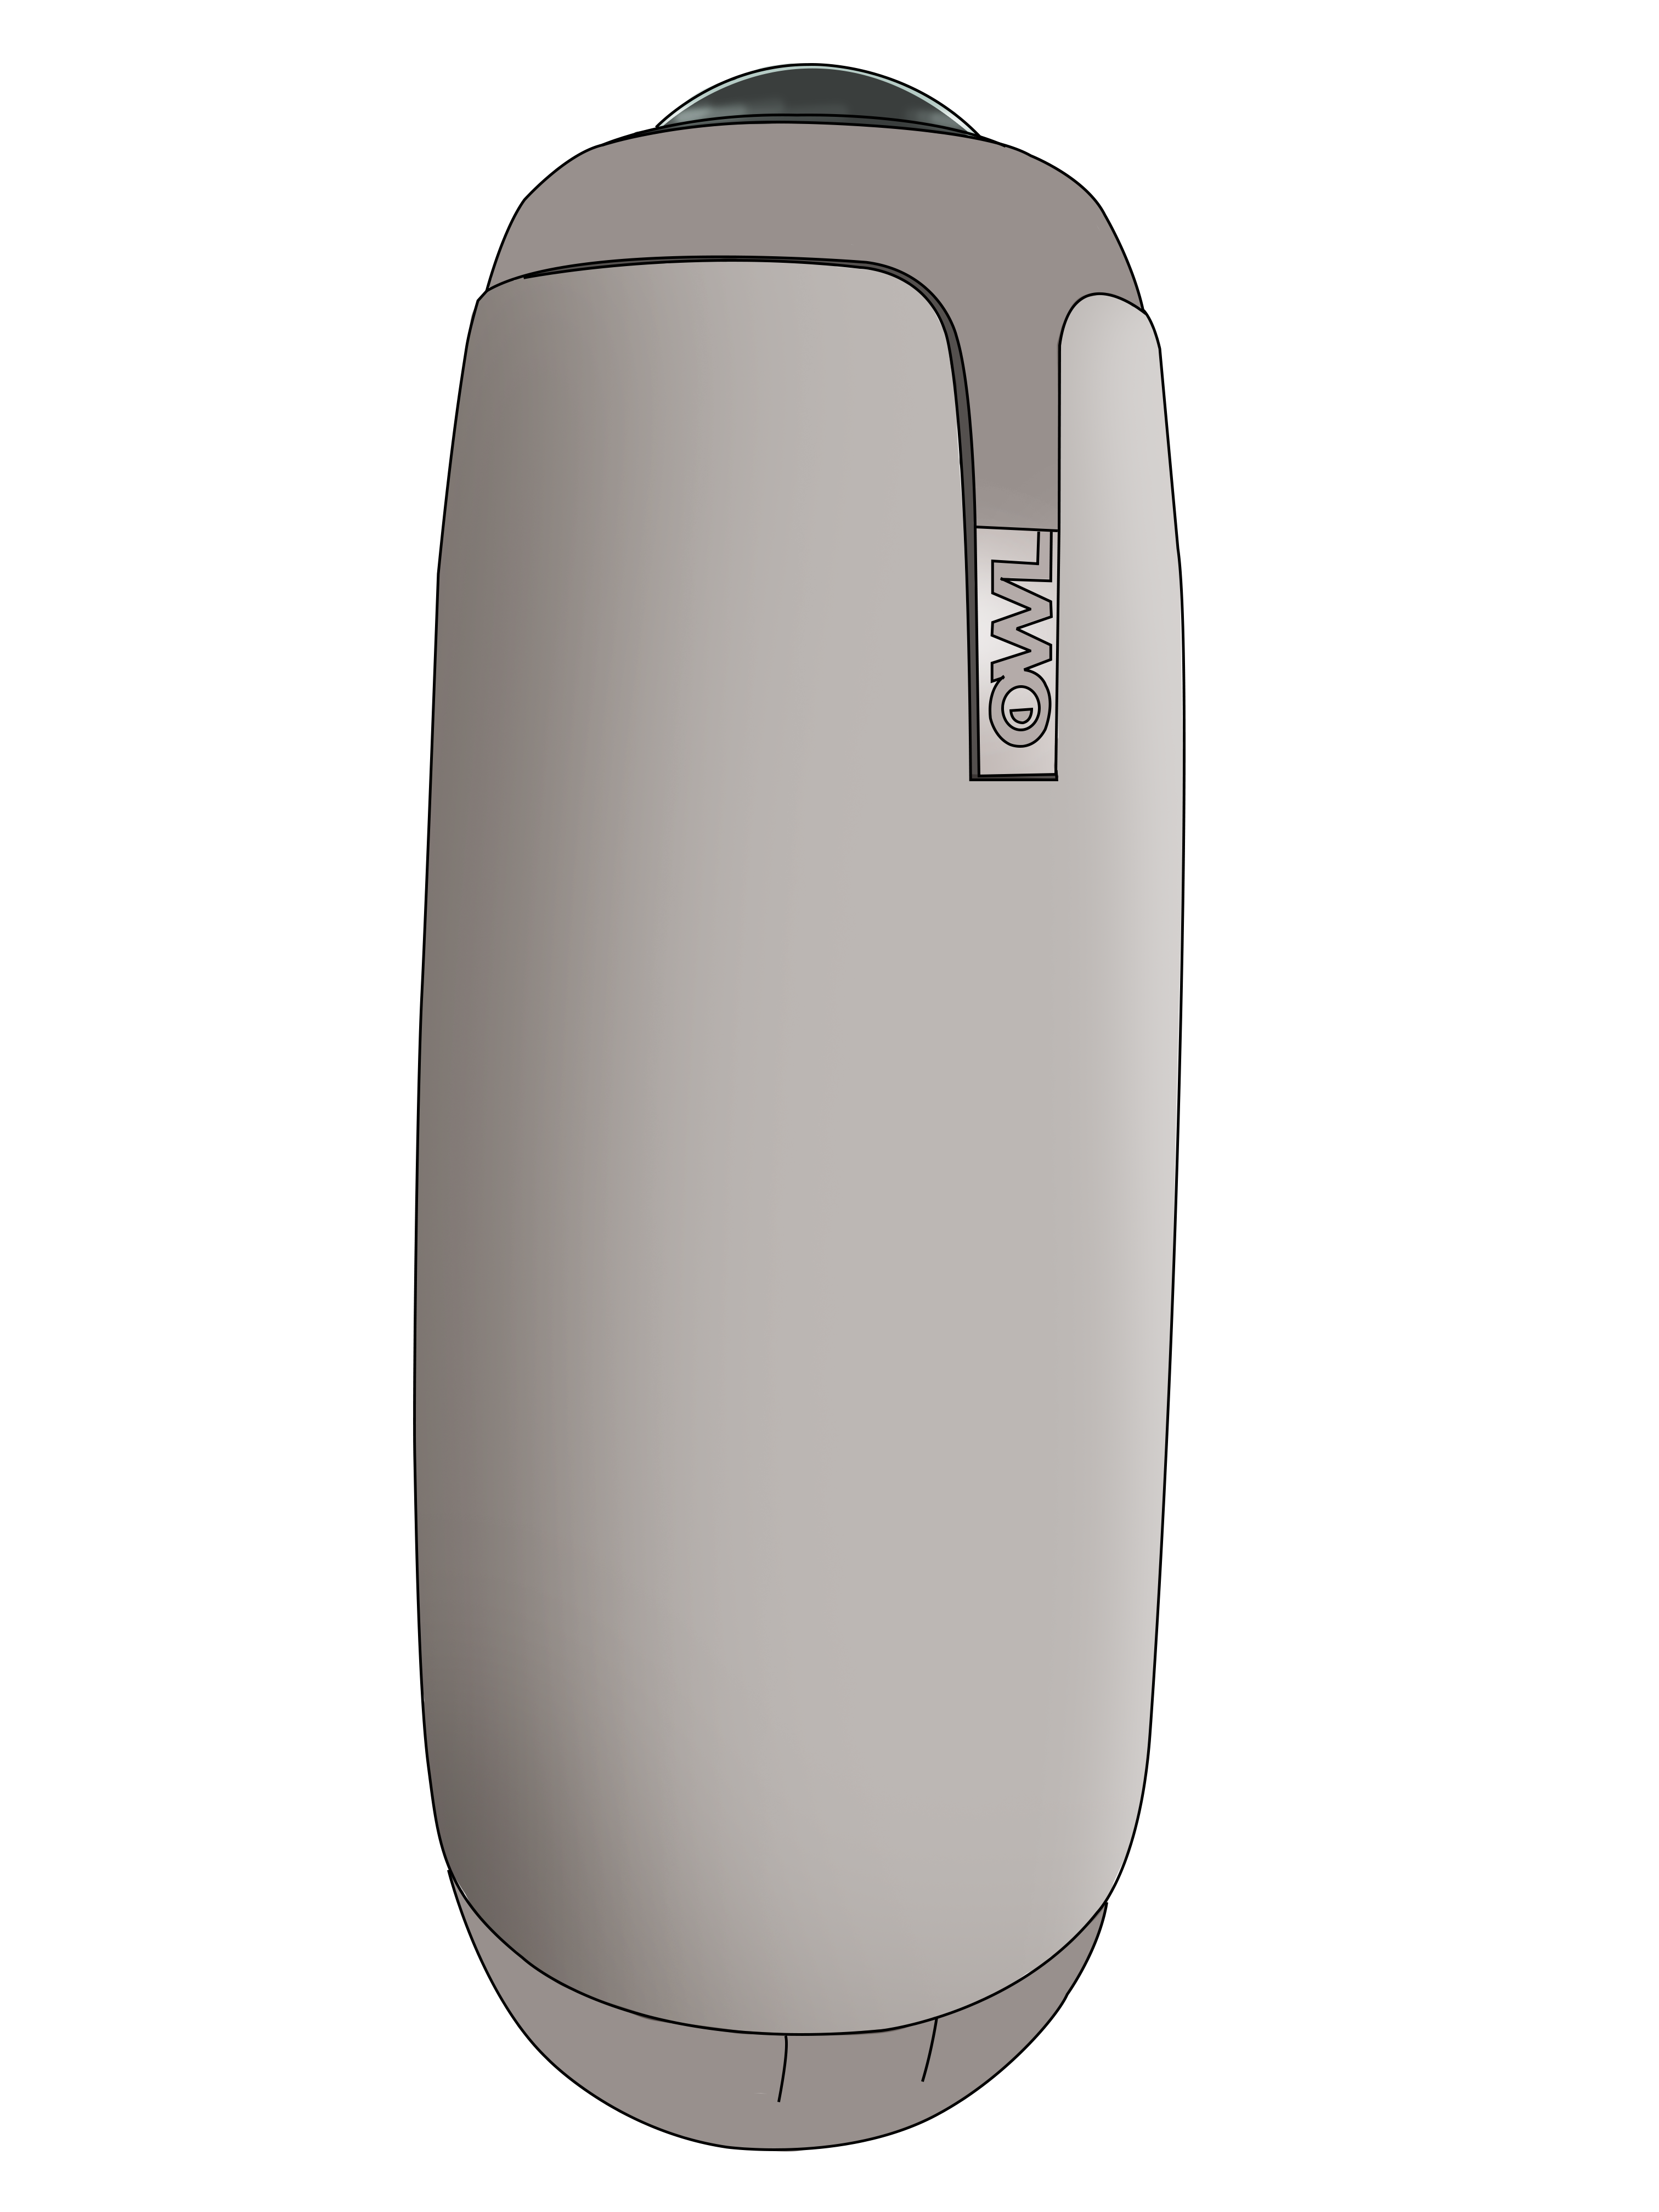
The Meeting Owl Pro is a 360-degree camera, mic, and speaker combined into one easy-to-use device.
Getting Started with the Meeting Owl Pro
- Take Meeting Owl Pro and cables out of the box.
- Connect one side of the power adapter, to the underside of the Meeting Owl Pro, and the other end to a power outlet anywhere on the wall, in the room you are having your meeting.
- Connect one side of the USB cable, to the underside of the Meeting Owl Pro, and the other end, connect to the Host's computer, or a USB adapter. (See Images Below)
(The Device will Hoot twice after power has been plugged in.)
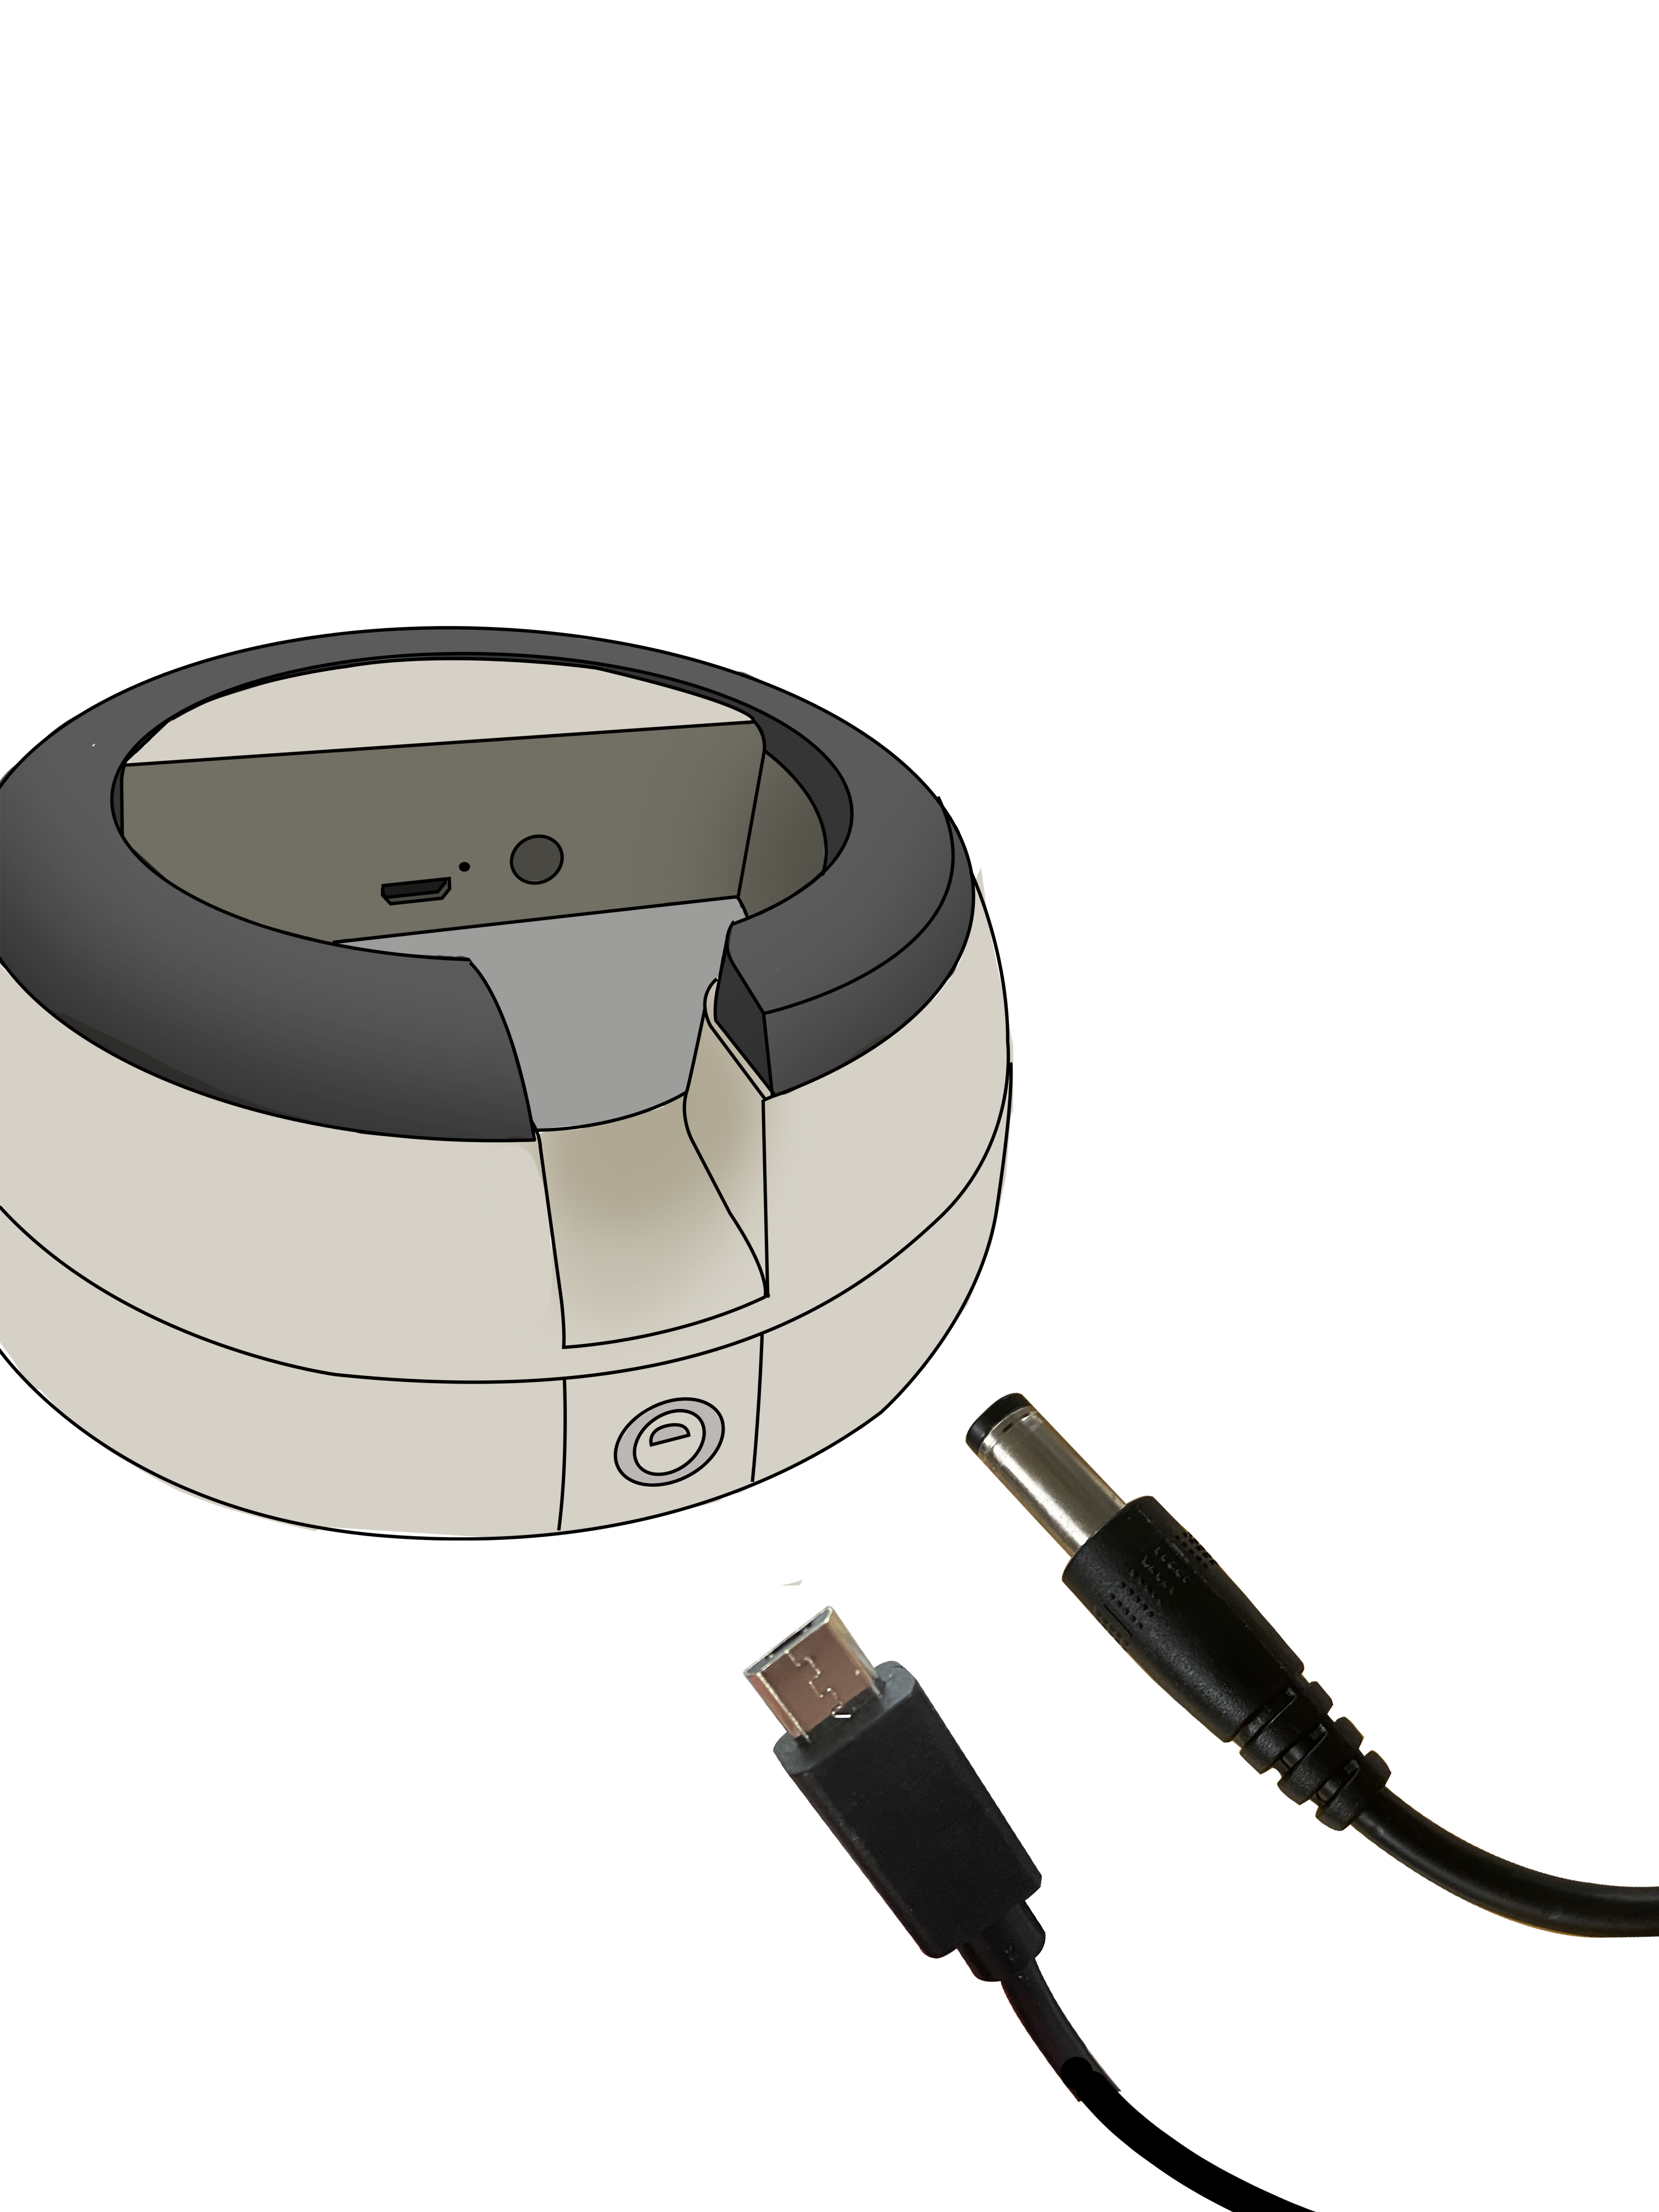
(Flip the Meeting Owl Pro Over) (Connect USB cable (left) and power cable (right))
Using Meeting Owl Pro with Zoom
- Launch or open Zoom /Applications>Zoom, to start the meeting.
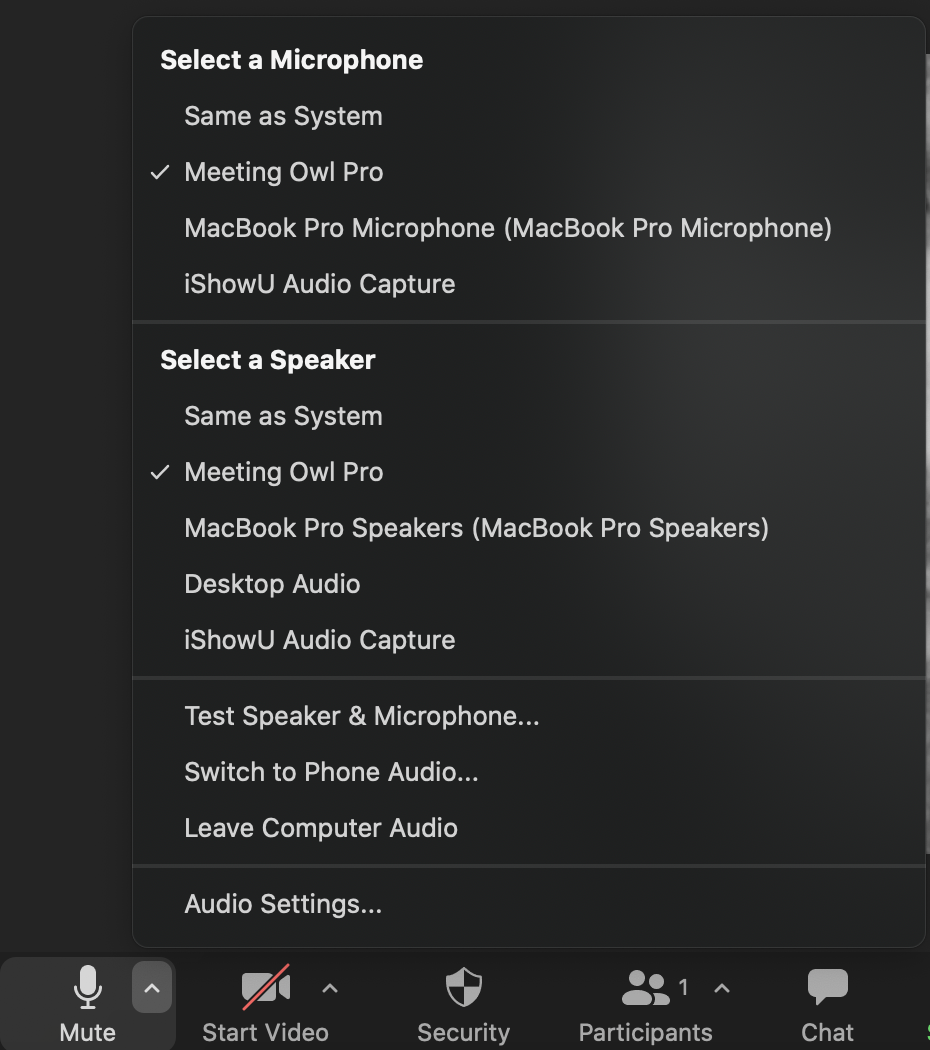
- Before all you guests arrive, make sure to switch zoom Audio Settings so that your Meeting Owl Pro is your microphone and speaker.
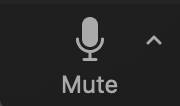
- in Zoom, down in the lower left corner, select the carrot symbol; next to mute.
- Under the "Select a Microphone" category, select Meeting Owl Pro
- Under the "Select a Speaker Category", select Meeting Owl Pro. (See Image Below)
For additional information or issues that arise, please submit a ticket to Instructional Support Services at support.blakeschool.org
0 Comments